Upload local images and files to your image host through PicGo's existing configuration (PicGo Cloud, GitHub, S3, COS, Qiniu, or any installed uploader plugin), via a `picgo_upload` tool and a `/picgo` command.
Install
# from npm (prebuilt)
dsh plugin --profile web add @picgo/dsh-plugin
# from GitHub (first run asks for allowBuilds approval — follow the hint, retry)
dsh plugin --profile web add github:PicGo/dsh-plugin
Any plugin you install runs third-party code with your own permissions — it can read your files, use your credentials, and reach the network, and tool approvals don’t sandbox it. GitHub-sourced plugins also run build scripts at install time — pnpm blocks those until you allow them, so an install can stop with ERR_PNPM_GIT_DEP_PREPARE_NOT_ALLOWED or ERR_PNPM_IGNORED_BUILDS; dsh prints the exact key to add under allowBuilds in your profile’s pnpm-workspace.yaml, and the install works on the next run. Allowing a build is a trust decision: only install sources you trust, and pin a commit (github:owner/repo#sha).
README
Upload images and files to your image host from DeepSeek Harness, powered by PicGo.
Harness can show your agent a screenshot, but it has no way to turn a local file into a link. So when the agent writes a README, renders a chart, or captures a screenshot, the image stays on disk and  becomes a dead link the moment you push. This plugin closes that gap.
It uploads through whatever image host you already configured in PicGo — PicGo Cloud, GitHub, S3, Tencent COS, Qiniu, or any third-party uploader plugin you installed. Nothing to re-configure. If you've never used PicGo, it walks you into PicGo Cloud's free tier.
If the PicGo desktop app is running, uploads go through it, reusing the image host you set up in its window. Otherwise they run in-process. See Upload routes.
Install
dsh plugin --profile web add @picgo/dsh-plugin
Then boot as usual:
dsh --profile web
What you get
picgo_upload — a tool the model calls on its own when a local file needs to become a link. Returns structured results, so in Code Mode you can use it directly:
const { uploaded } = await tools.picgo_upload({ paths: ['/tmp/chart.png'] })
console.log(uploaded[0].imgUrl)
/picgo — a command that uploads without spending a model turn:
| Command | What it does |
|---|---|
/picgo |
Upload the clipboard image |
/picgo <path>... |
Upload one or more files |
/picgo status |
Show the active host and sign-in state |
/picgo login [token] |
Sign in to PicGo Cloud |
/picgo logout |
Sign out |
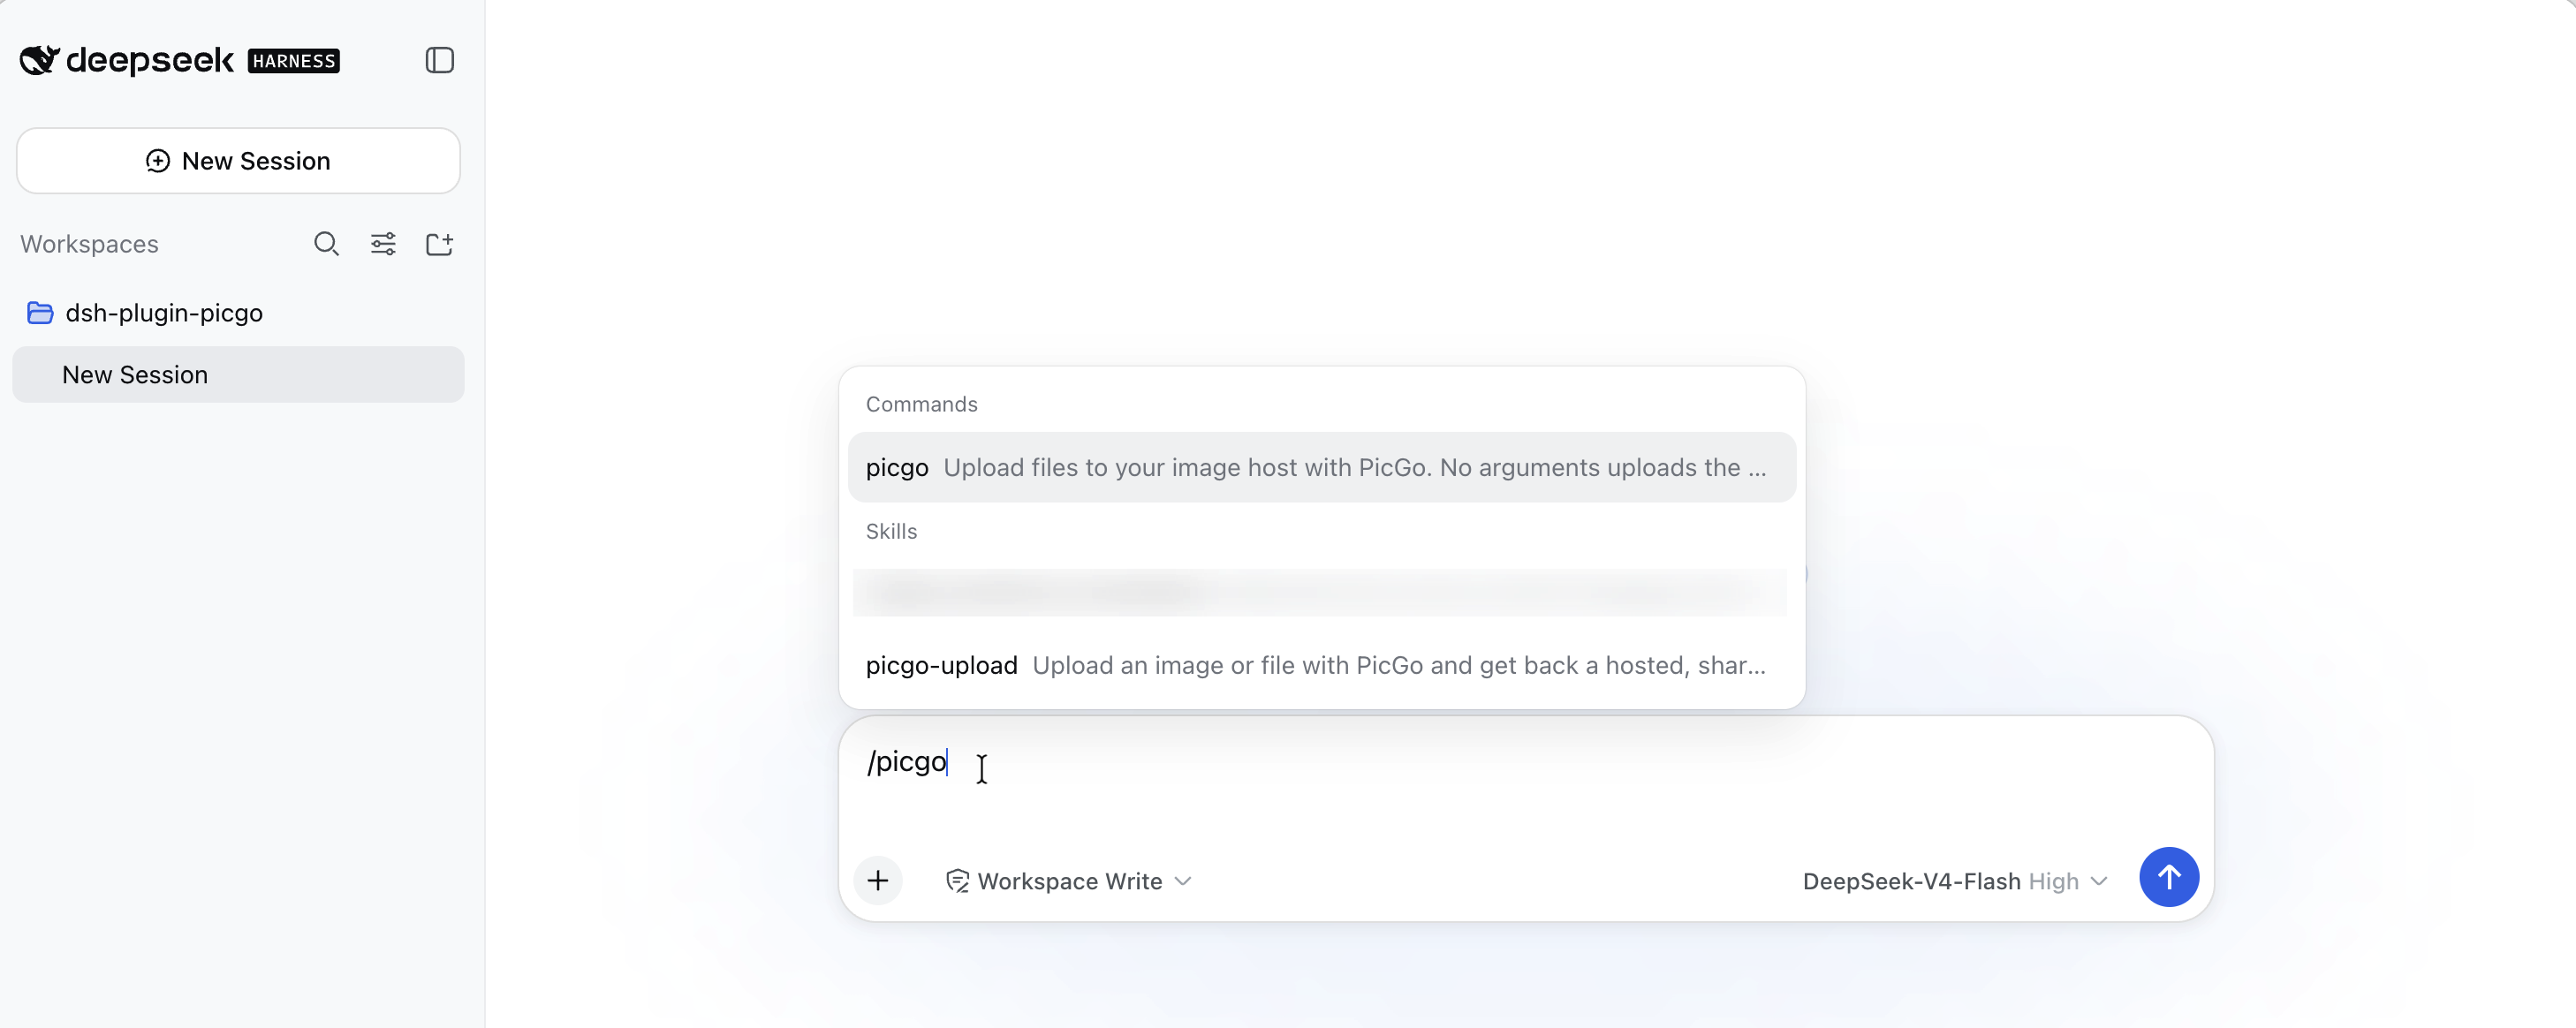
A bundled skill that teaches the model when to upload — inserting a screenshot into docs is the primary case — and when not to (you named a specific destination, you want a local copy).
Upload routes
There are two ways this plugin can reach your image host, and it picks one per upload:
- The PicGo desktop app, when it is running. It exposes a local upload server, and using it means your uploads honour the host you configured in the app's window.
- In-process PicGo, otherwise — the
picgolibrary reading~/.picgo/config.json.
This matters because the two read different config files. The desktop app stores its settings in the system application-data directory (on macOS ~/Library/Application Support/picgo/data.json), while the library reads ~/.picgo/config.json. If you have only ever used the GUI, the library route sees a config you never touched — most likely empty and defaulting to PicGo Cloud. Preferring the app is what makes "it just uses my existing setup" true.
Upgrading from 0.1.x? If the desktop app is running and the two configs point at different hosts, your uploads will now land on the app's host rather than the CLI's. Set
gui.mode: offto keep the old behaviour.
/picgo status tells you which route is active. Two things worth knowing about the desktop-app route:
- The app copies each URL to your clipboard and shows a notification — that is the app's own behaviour and this plugin cannot turn it off.
- If an upload there fails with a login error, sign in from the app's own window.
/picgo loginwrites the PicGo CLI config, which the desktop app does not read.
First run
If you've never configured PicGo, uploads default to PicGo Cloud, which needs a one-time sign-in. The free tier covers casual use.
/picgo login
That opens your browser and reports back when it completes. If you already have a token from the PicGo Cloud dashboard, /picgo login <token> is instant.
The model will never run this for you: with no token the sign-in blocks waiting on a browser callback, which would hang the session. It relays the instruction and waits.
Already using GitHub, S3, or another host in PicGo? None of this applies — your existing config is used as-is and no sign-in is involved.
Configuration
Every field has a working default. Override them from your profile's cordis.patch.yml:
- id: picgo
  name: '@picgo/dsh-plugin'
  config:
    silent: true
    timeoutMs: 120000
| Field | Default | Meaning |
|---|---|---|
configPath |
'' |
PicGo config file; empty uses PicGo's own default (~/.picgo/config.json) |
silent |
true |
Suppress PicGo's console output and its picgo.log writes |
timeoutMs |
120000 |
How long to wait for one upload |
registerSkill |
true |
Register the bundled picgo-upload skill |
registerCommand |
true |
Register the /picgo command |
announceSignIn |
true |
On startup, point a signed-out PicGo Cloud user at /picgo login |
gui |
see below | How to reach a running PicGo desktop app |
gui controls the desktop-app route described in Upload routes:
| Field | Default | Meaning |
|---|---|---|
gui.mode |
auto |
auto uses the app when it answers; off never tries; only requires it rather than uploading to a different host |
gui.host |
127.0.0.1 |
Where the app's upload server listens |
gui.port |
36677 |
" |
gui.secret |
'' |
Auth secret, if you enabled one in the app. Empty falls back to $PICGO_SERVER_SECRET |
gui.probeTimeoutMs |
1500 |
How long to wait for the app to answer a heartbeat |
gui.probeTtlMs |
5000 |
How long a heartbeat result is reused, so a multi-file upload does not re-probe per file |
gui.timeoutMs |
0 |
Upload deadline for this route; 0 inherits timeoutMs |
A patch replaces a row's entire config rather than merging keys, so restate every field you want to keep. Within gui, unset keys still fall back to the defaults above — overriding gui.mode alone is fine.
Notes
Uploaded links are public. Anyone with the URL can open it, and a deleted file may stay cached. Fine for screenshots and doc images; think before uploading a contract PDF or an internal archive. The bundled skill tells the model to confirm first for anything that looks sensitive.
Your PicGo config is treated as read-only, with one exception outside this plugin's control: when PicGo Cloud rejects a stored token, PicGo itself clears it from ~/.picgo/config.json. Signing in and out through /picgo login / /picgo logout also writes the token, as you'd expect.
Clipboard uploads need a desktop session and are only reachable through /picgo — the model is never given a way to upload your clipboard, since it can't know what's on it.
Falling back to the in-process route is deliberately narrow. If the desktop app stops between the check and the upload, the upload is retried in-process. But a rejected upload, a missing auth secret, or a timeout is reported rather than retried elsewhere: the app may have already accepted the file, and silently re-uploading would put a second copy on a host you did not pick.
If an upload through the app hangs, check whether "rename before upload" is enabled in its settings — that opens a dialog and waits for a human, which nothing is going to answer in an agent session. The timeout message says so too.
Development
pnpm install
pnpm build
pnpm test
pnpm test:live additionally exercises the desktop-app route against a running PicGo app. It is kept out of pnpm test because it uploads real files to your real image host.
To run it against a dsh source checkout without packaging, write a cordis.dev.yml (gitignored — the path is specific to your machine):
- insert:
    - id: picgo
      name: '/absolute/path/to/dsh-plugin/lib/index.js'
Then, from the dsh checkout:
pnpm dsh web --patch /absolute/path/to/dsh-plugin/cordis.dev.yml
The path must be absolute: a patch adds config but does not move the loader's resolution root.
Releasing
@picgo/bump-version bumps the version, writes the changelog, commits, and tags in one step:
pnpm release          # patch: 0.1.0 -> 0.1.1
pnpm release:minor    # 0.1.0 -> 0.2.0
pnpm release:major    # 0.1.0 -> 1.0.0
pnpm release:beta     # 0.1.0 -> 0.1.1-beta.0
pnpm release:dry      # print what would happen, change nothing
Then push the tag — that is what triggers publishing:
pnpm push-release
The release workflow runs typecheck, tests, and build before publishing, and refuses to publish if the tag does not match package.json. Prerelease tags pick their own dist-tag (-beta.x → beta, -alpha.x → alpha, anything else prerelease → next), so npm install @picgo/dsh-plugin never resolves to a prerelease.
npm authentication
npm cannot configure a trusted publisher for a package that does not exist yet, so the first release and every later one authenticate differently.
First release — needs an NPM_TOKEN repository secret (a granular token with publish rights to the @picgo scope):
gh secret set NPM_TOKEN --repo PicGo/dsh-plugin
After that first release lands, switch to trusted publishing so no long-lived token is involved. On npmjs.com, open the package → Settings → Trusted Publisher, and register:
| Field | Value |
|---|---|
| Publisher | GitHub Actions |
| Organization or user | PicGo |
| Repository | dsh-plugin |
| Workflow filename | release.yml (filename only, not a path) |
| Environment name | leave empty |
| Allowed actions | npm publish |
The workflow already sets id-token: write, so nothing changes on this side — npm picks OIDC over the token automatically. Once a trusted-publish release succeeds, delete the NPM_TOKEN secret and revoke the token, then set Settings → Publishing access to "Require two-factor authentication and disallow tokens".
Trusted publishing needs npm ≥ 11.5.1, so the release workflow runs on Node 24 (which ships npm 11.x). Node 22 ships npm 10.x and fails with a misleading 404. That choice affects only the machine doing the publishing — the package itself still supports Node ^22.19.0 || >=24.0.0, and CI tests against 22.
Compatibility
Tested against DeepSeek Harness 0.1.1-rc.2 (2026-08-22) and PicGo Core 3.0.1. Requires Node ^22.19.0 || >=24.0.0.
The desktop-app route needs a PicGo app new enough to expose the local upload server. If yours is older, gui.mode: auto simply never finds it and everything runs in-process as before.
Harness is a developer preview and its APIs change often. If a release breaks this plugin, please open an issue.
License
MIT
Links
More in this category
Tencent/WeKnora#dsh-weknora★ 30675
Four read-only tools over a WeKnora knowledge base: list knowledge bases, hybrid passage search, reassemble one document's chunks in order, and WeKnora's own cited RAG or ReAct-agent answer with a resumable session id.
superdesigndev/treg★ 3596
Tool catalog for agents: search ~2,600 external endpoints (SEO and SERP, backlinks, social, people and company enrichment, ad libraries, scraping) by the task you want done, read each one's parameters and per-call price, then call it with the credential injected server-side. Ships the skill plus an MCP row that stays disabled until TREG_TOKEN is set.
TencentCloudBase/CloudBase-AI-Toolkit#dsh-plugin★ 1126
Tencent CloudBase backend for DeepSeek Harness — scaffold and deploy full-stack apps from chat, render query results as table cards with paging, sorting and CSV export, preview a deployment on its domain, and call the CloudBase MCP toolset (`mcp__cloudbase__*`) with device-code login.
gitroomhq/postiz-agent#dsh-postiz★ 496
Connects DeepSeek Harness to Postiz over MCP: list connected social media channels, fetch per-platform posting rules, and schedule, draft, or publish posts to X, LinkedIn, Instagram, Facebook, Threads, TikTok, YouTube, Reddit, Bluesky, Mastodon, Discord, Slack, Telegram and more; adds a postiz workflow skill.
EthanYoQ/Invoice-Downloader#dsh-invoice-downloader★ 446
Local IMAP invoice download, OCR, archive, and Excel reimbursement summaries for DeepSeek Harness.
anysearch-team/anysearch-dsh★ 430
AnySearch-powered real-time web and vertical search provider for DeepSeek Harness.
Community comments
Comments are public GitHub Discussions. Loading them connects to GitHub and Giscus; a GitHub account is required to post.